Before starting the project of how to install corrugated roofing, make sure to gather necessary instruments, such as a measuring tape, chalk line, drill with proper bits, screws, and most importantly, safety equipment – such as gloves and goggles. Make sure the roof deck is clean and debris-free. Calculate the needed panels and overlap by measuring the area.
Start by using tin snips or a circular saw fitted with a metal-cutting blade. Be careful while measuring correctly – leave an inch on all sides for overhang. To avoid any danger during installation, file down any sharp edges.
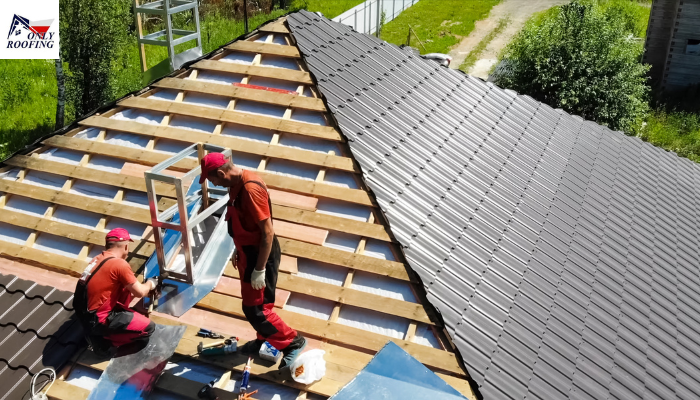
Panel Installation
Before installing the panels, ensure that the current roofing system is able to hold the new panels. If not, feel free to contact our roof replacement Woodlands services to get a new home roof within your budget and desired quality.
Start at the bottom edge of the roof and line the first panel with the edge. Use a chalk line to ensure that the next panels are straight. Make sure the following panel overlaps the preceding one by at least one corrugation.
Fastening and Sealing
Apply a bead of roofing sealant along the overlap before fastening the next panel to improve weather resistance. To fasten panels, use rubber washers with screws, tightening just enough to keep them in place without causing distortion. Trim the last panel to fit if necessary, making sure it fits perfectly with the roof’s edge.
Safety Precautions
Prioritize safety during the installation procedure. Protect yourself from sharp edges and flying debris by wearing gloves and goggles. To avoid accidents, use caution when working on the roof, especially in sloping areas.
Only Roofing Contractors Spring TX are the best-authorized roofers in the United States. This perfect workforce knows well about how to install corrugated roofing. They certify to follow procedures that assure a successful and long-lasting installation of corrugated roofing, providing solid weather protection for your home or office project.
Read More:
