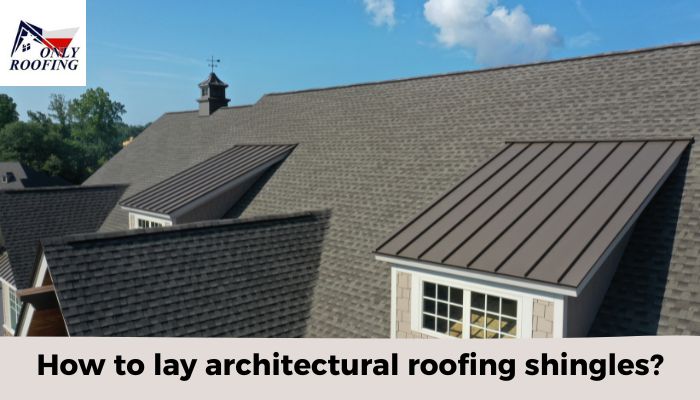
At ONLY ROOFING, we understand the significance of professional roof installation. Architectural shingles offer both beauty and superior performance for homeowners looking to combine form with function, but proper installation must take place for their long-term protection. But How to lay architectural roofing shingles? No matter your level of experience laying architectural shingles yourself or needing a refresher course; this blog post provides all of the steps to lay them like an experienced pro!
Before Beginning: Safety Comes First
Safety should always come first when undertaking any roofing project, from boots and gloves to safety glasses and harnesses (for steep slopes). Cooperating with experienced roofing contractors in Spring Tx like ONLY ROOFING may ensure a safer installation process that ensures optimal results.
Preparing Roof Deck
Before installing architectural shingles on your roof deck, ensure it is in excellent condition.
- Look out for signs of damage such as water intrusion or any signs of decay
- Address any concerns immediately
- Ensure adequate ventilation to avoid moisture build-up underneath shingles
Laying an Underlayment System
Underlays made of top-quality material are crucial to providing water protection and optimal performance from roof shingles. Careful installation should follow manufacturer instructions so it overlaps fully over your roof deck while being fastened securely to it.
Roof Shingle Installation Steps and Strategies
How to lay architectural roofing shingles? Use starter shingles to create an even surface for mounting subsequent layers of shingles. Apply starter strips along eaves and rake edges as per manufacturer recommendations.
1. First Course
To start your roof installation project correctly, start at the lower-left corner. Arrange and secure your first shingle flush with its starter strip while simultaneously aligning it with the eaves edge of the roof with some nails recommended by the manufacturer and local building codes.
2. Subsequent Courses
To create a staggered appearance, subsequent courses typically utilize an even 5- or 6-inch exposure for their shingles – starting with full coverage as for the initial course, subsequent ones will progressively shorten them until reaching the desired exposure level.
3. Nailing
To secure each shingle properly and avoid overdriving or damaging its material, each one should contain an area designated for nailing; nail flush without over-driving and damaging its top edge.
4. Valley and Hip Shingles
Special shingles designed specifically to ensure water drainage and prevent leaks are used on valleys and hips, so consult the manufacturer’s instructions when flashing these areas.
5. Ridge Cap
As the finishing touch for any roof project, installing the ridge cap shingles adds the perfect final touch and completes its look. Make sure proper ventilation exists beneath it while adhering to manufacturer installation instructions for installation.
Pro Tip: For proper application and warranty coverage of architectural shingles, always follow the manufacturer-specified installation guide provided by them. This will ensure proper application. If you need help with a roofing project, consider hiring our team at ONLY ROOFING. Our experienced and insured professionals can provide a safe and efficient roof replacement in Woodlands, ensuring your home is protected from the weather.
When Should Professional Assistance be Seeked
Though this guide offers a general overview, installing architectural shingles on complex rooflines or challenging slopes may prove challenging without professional assistance from ONLY ROOFING’s qualified and insured roofing team – who possess all necessary resources needed for the safe installation of architectural shingles that provide long-lasting protection to homes with roof replacement in the Woodlands.
Remember, having an attractive roof that protects against the elements is crucial. By following these steps and seeking professional assistance when needed, you can ensure your architectural shingles are installed perfectly – adding both value and beauty to your home!

