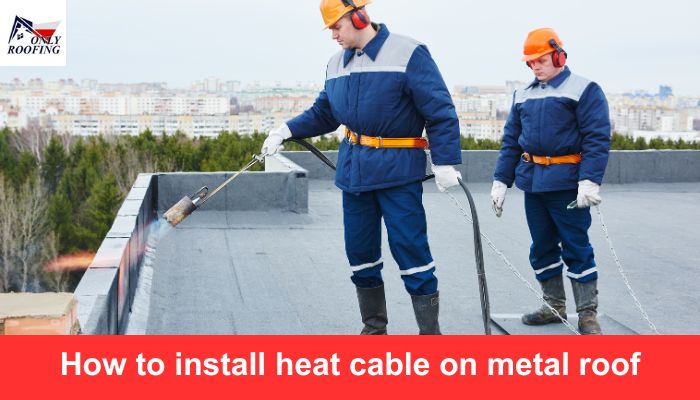
Metal roofs offer durable protection and aesthetic beauty; however, they may become vulnerable to ice dam formation in colder climates. An ice dam forms when snow melts and refreezes on its way off of a roof at its edge again and forms an obstruction that blocks further melting and can even lead to leakage issues if left standing for too long. Heat cable provides an effective solution by preventing ice dams from forming altogether. But the question is: How to install heat cable on metal roof?
For your DIY projects, ONLY ROOFING offers qualified installation guidance and roofing replacement in Woodlands; alternatively, this guide gives a basic overview.
Before Beginning
Safety should always come first! Installing heat cable may pose risks if not executed properly, so seek the advice and services of a professional roofing contractor such as ONLY ROOFING for safe installation of heat cable. If you opt to carry out this task independently, adhere strictly to all manufacturer instructions and safety protocols to ensure its smooth execution.
Essential Materials for Heating Your Metal Roof
- Heat cable (self-regulating is recommended)
- Roof clips suitable for your metal roof type
- Caulk
- Roof sealant
- Electrical wire and connection kit (consult an electrician for proper sizing)
- The power source (GFCI outlet)
- Drill
- Screwdriver
- Staple gun (optional)
- Utility knife
1. Planning and Measuring
Start by sketching an outline of your roof and noting its eaves, valleys and gutters. Measure how long of cable will be necessary for each section.
2. Cable Installation
To place cable, begin at the eaves, following manufacturer recommendations (typically zigzagging). Secure it to the roof using clips designed specifically for this task (on standing seam roofs staple guns may provide added security).
3. Power Connection
Connect your cable by following its path along a soffit or fascia towards a designated GFCI outlet installed by an accredited electrician.
4. Sealing and Protection
Make sure any punctures caused by screws or staples are sealed with roof sealant while applying caulk around cable entry points into buildings to avoid potential leakage issues.
5. Testing and Activation
After installation, perform a system test as instructed by your manufacturer before the winter season.
Additional Considerations
- Snow Retention Systems: Metal roofs can become vulnerable to snowfall avalanches during snowy periods. Install a snow retention system alongside your heat cable system to limit potential damage from this occurrence.
- Roof Warranties: It is important to keep in mind that installing heat cable without first consulting the manufacturer may void certain metal roof warranties; before proceeding it’s wise to review your warranty’s details.
Professional Assistance Is Available
As this guide only serves as an outline, installing heat cables requires expertise and safety precautions for an ideal installation experience. Reach out to ONLY ROOFING to have it professionally done by one of their qualified team of roofing contractors in Spring, TX; with us guaranteeing an ice-free roof during winter.
Read More:
Roof Replacement The Woodlands Tx
