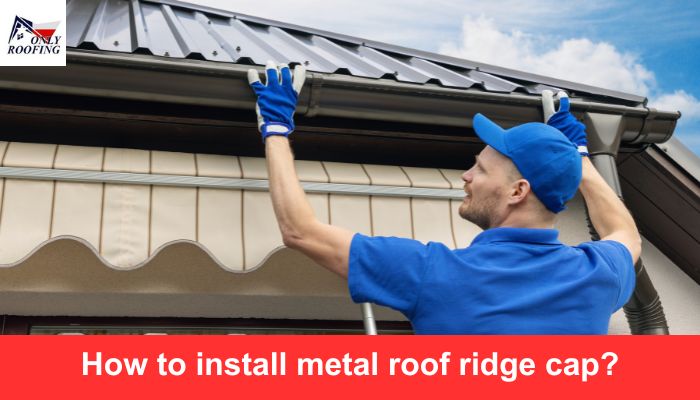
Your metal roof’s crown jewel – its ridge cap – not only adds visual charm but is also crucial in protecting it against water intrusion. While installation may appear straightforward, taking steps such as using proper techniques will ensure a long-term weather-tight seal. Here is “How to install metal roof ridge cap?”
Prioritize Safety
It is vitally important that before beginning installation of any metal roof system, priority should be given to safety measures. Wet metal roofs present slip hazards; to minimize slipperiness ensure adequate fall protection – such as an easily attachable harness with a lifeline attached securely anchored at an appropriate point. Working alongside another person provides extra stability as well as facilitates tool handling more smoothly.
Prepping Your Roof
With safety precautions in place, now is the time to prepare the roof.
- Establish a Guide: Use a chalk line to mark the centre of the ridge for easy visual orientation when aligning its cap.
- Verify Ventilation: Confirm that there is sufficient ventilation beneath your ridge cap by inspecting for pre-installed ventilation gaps within metal roof panels or seeking advice from your roofing materials supplier.
- Optional Weatherproofing: For added protection from wind-driven rain, try applying self-adhesive butyl sealant tape along both sides of the chalk line as an additional form of weatherproofing.
Installing the Ridge Cap
- Measure and Cut: Measure and cut each section accordingly ensuring there is some overlap at both ends (typically 2- 3 inches).
- Fold and Secure: Follow the manufacturer’s instructions to fold the bottom flanges of each ridge cap section at an approximately 90-degree angle and create an opening for roof panels to slide inside. Secure these folded flanges using roofing nails or screws driven into the peak of metal roof panels for stability.
- Align and Overlap: Position the first section onto the ridge cap so it aligns with a chalk line, positioning subsequent sections so they overlap by an amount specified to ensure tight interlocking among all of their sections.
- Secure in Place: Once in position, fasten the ridge cap securely with screws or nails following manufacturer recommendations for spacing and placement.
- Seal Joints: Apply a bead of silicone sealant along the top ridges of overlapping sections to provide an additional barrier against water infiltration.
Roof Maintenance Tips from ONLY ROOFING
To achieve an ideal result, here are some tips by Roofing Contractors in Spring, TX:
- Work Methodically: Install the ridge cap starting at one end and progress along the ridge in an orderly fashion to reduce any chance of sections shifting during installation.
- Avoid Over-Tightening: Secure the screws or nails firmly to hold the ridge cap in place but take caution not to over-tighten, which could cause metal warp and fractures.
- Tidying Up: Remove metal shavings or debris to reduce corrosion and preserve your roof’s integrity.
Provide Expert Metal Roofing Services in Spring TX and Beyond
ONLY ROOFING is your go-to partner when it comes to all things metal roofing and roof replacement in Woodlands, TX. From installing or replacing existing roofs in Spring TX to providing expert consultations – contact our skilled and certified roofers now for your free consultations!
Read More:
New Roof Installation The Woodlands TX
