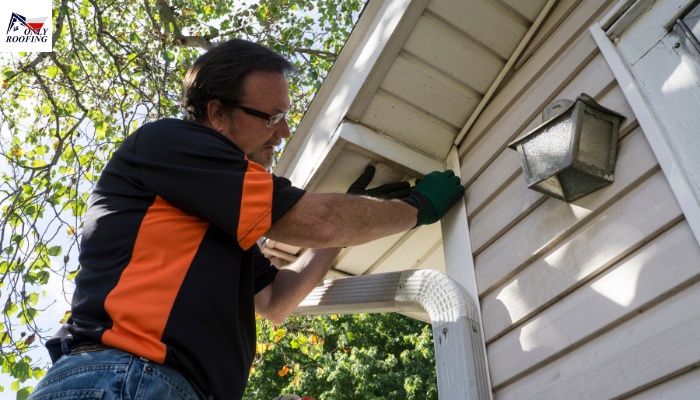
Home protection, combined with aesthetic enhancement, is achieved by using vinyl siding. Installation of any siding begins by forming a starter strip. This guide explains How to install starter strip for vinyl siding properly!
Tools and Materials Needed
- Starter strip
- Tape measures
- Chalk line
- Level
- Nail gun or Hammer
- Galvanized nails
- Tin snips
Read more: How to install roll roofing?
Step 1: Measure and Mark
Begin by taking measurements from the top edge of the wall. A straight line should be marked using a chalk line. Water damage prevention requires the line to sit 1 inch above the foundation level.
Step 2: Cut the Starter Strip
Use tin snips to cut the starter strip all the way around the walls. Be sure that the edges are straight and even. Make sure you measure twice before cutting to avoid making mistakes.
Read more: What is Modified Bitumen Roofing?
Step 3: Attach the Starter Strip
Trace the starter strip with line chalk to align it. Then, fix it using galvanized nails every 8-12 inches. Don’t hit the nails too hard; leave a little space to expand.
Step 4: Check for Level
Use a leveler to ensure that the starter strip is in perfect alignment. A sloping strip can create problems when installing siding panels. Adjust the strip as necessary before moving on.
Step 5: Overlap Sections
If you require multiple strips, overlap the ends by at least 1 inch. This will prevent gaps and create an even base for the siding.
Read more: Do Solar Panels Damage Roof?
Step 6: Double-Check Alignment
Before proceeding, make sure everything is straight and solid. Any mistakes made during this process could cause problems with the siding installation.
Final Thoughts
How to install starter strip for vinyl siding? – A properly laid starter strip can ensure your vinyl siding remains in place long. Be patient, and be sure to follow every step.
For more tips on siding and roofing for siding and roofing, go to the OnlyRoofing!

