Do you know how to install metal roofing on a shed? For this purpose, you must gather the necessary equipment and supplies before beginning the project. Working at heights necessitates using safety equipment such as gloves, goggles, and a harness. However, if you need more time to be ready or relaxed about working on such construction projects, contact Only Roofing Contractor in Spring, serving in Texas and all the nearby areas.
Make sure you have the metal roofing panels, screws, a drill with screwdriver bits, a chalk line, and a tape measure on hand for the installation. It is also essential to prepare the shed’s roof by removing old shingles, correcting damage, and ensuring a clean, flat surface.
Planning and Measuring
Begin by taking careful measures of the roof’s lengths and angles. Mark guidelines on the roof with a chalk line to assist straight lines and proper panel placement. Underlayment works as an extra moisture barrier, boosting the shed’s protection. Furthermore, trim at the edges and corners adds a clean, completed look and helps prevent water from leaking below the metal panels.
Putting the Metal Panels Together
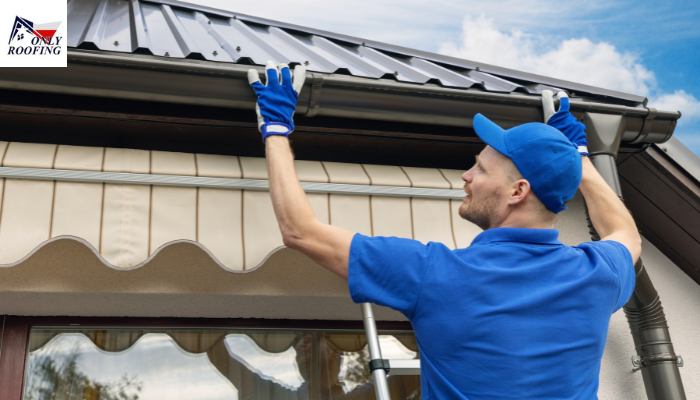
Start at the bottom of the roof and work your way up while installing the metal panels. Align the first panel with the roof’s edge, allowing for a tiny overhang for optimum water drainage. Screw the panels in at the indicated positions, usually along the ridges.
Final Thoughts
Understanding and implementing how to install metal roofing on a shed is an excellent investment. It provides durability, aesthetic appeal, and long-term protection. You may turn your shed into a solid, weather-resistant building by carefully following the installation stages, collecting exact measurements, and paying attention to the details. If needed, you can also go for our roof replacement Woodlands services. Remember that precise planning and attention to detail are essential for a successful installation, providing a roof that will resist the weather for many years.
Read More:
