So, you’re an enthusiastic fan of road traveling, but have you ever wondered how to replace camper roof? Undoubtedly, owning a camper allows you to travel freely. However, its wear and tear are unavoidable, especially on the roof, which is subjected to severe weather and continual exposure. Replacing a camper roof may appear onerous, but with the guidance of our roof replacement Woodlands services, it can be a do-it-yourself effort that is both easy and satisfying.
But wait! Before learning how to replace camper roof, you know the difference between an RV and a camper.
The term RV can be used for different types of vehicles, typically those modified as portable homes. In contrast, camper refers to RVs towed behind a separate automobile, such as a car or a truck.
Evaluation and Planning
Begin the project of how to replace camper roof with a thorough inspection. Check for leaks, cracks, and structural deterioration. Take note of the roof material, such as rubber, fiberglass, or aluminum, since the replacement method may differ.
Always keep necessary tools, such as a putty knife, screwdriver, caulking gun, sealant, new roofing material, and safety equipment in your automobile. Maintain a clean, dry, and debris-free workstation.
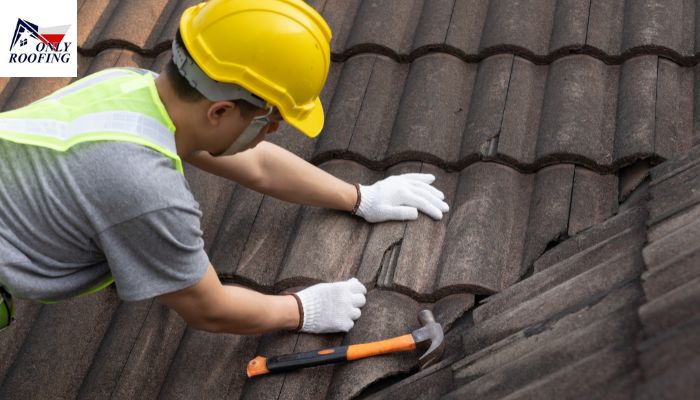
Remove the Old Roof
Start the project by removing the old roof material with care. Detach the sealant using a putty knife or scraper and pry off any fittings or vents. Refrain from damaging the underlying structure. Take your time, as hurrying at this stage may result in unintended consequences.
After removing the previous material, carefully clean the surface. Get rid of any leftover sealant, dirt, or glue. A clean and smooth base is essential for the new roof to adhere correctly.
New Camper Roof Installation
Cut the new material to the measurements of your camper roof, allowing for overlapping and trimming. Lay it out evenly and make sure the edges are aligned. For correct installation, follow the manufacturer’s directions or instructions unique to your material.
Application of Sealants
Around the borders and seams, use an appropriate adhesive or sealer. Smooth it out to eliminate air bubbles and gaps. Take special care with the corners and edges, ensuring they’re well to avoid water seepage.
Fixtures Reattachment and Finishing Touches
Reattach fixtures, vents, or accessories after the new roof is firmly in place. To enhance the waterproofing of these locations, apply an extra layer of sealant around them.
Examine the entire roof thoroughly. Look for any missing places or locations that require further sealing. To check for leaks, perform a water test by lightly sprinkling the roof. Before you hit the road, resolve any difficulties as soon as possible.
Care and Maintenance
After replacing the camper roof, frequent care is critical to its durability. Inspect for damaging signs regularly, especially following harsh weather conditions. Clean the roof regularly using gentle soap and water, avoiding strong chemicals that might harm the material.
Final Thoughts
Understanding how to replace camper roof necessitates attention to detail and patience. While it may appear complicated, following suitable methods and taking precautions will ensure a successful DIY project. Investing time and effort into camper roof maintenance brings forward many more road trips with Only Roofing Contractors Spring TX services – just a call away!
