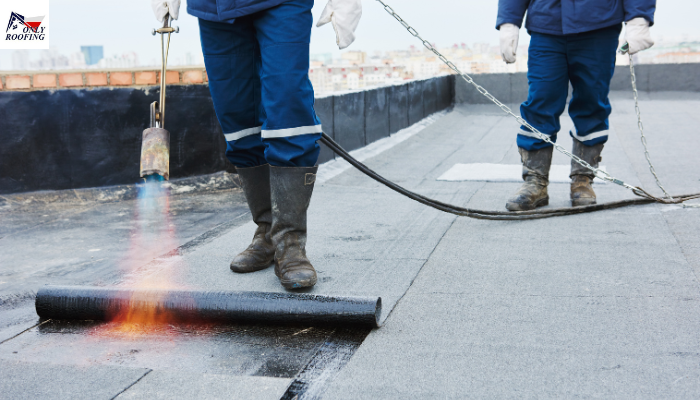
Roll roofing is an economical and hassle-free choice that works well on low-slope roofs as well as garages, sheds, and other structures. When you take the correct instructions, you can put it up yourself. This guide will demonstrate how to install roll roofing correctly!
What You Need Before You Start
1. Gather Your Tools and Materials
Before starting, be sure you’ve got the following:
- Roll roofing
- Nails for roofing
- Roofing adhesive
- Utility knife
- Measuring tape
- Chalk line
- Broom
- Hammer
Need a safer attic access solution? Check out our Roof Replacement options!
2. Choose the Right Roofing Roll
Roll roofing materials range from rubber, asphalt, and fiberglass – simply find one that best meets your roofing requirements!
3. Check the Weather
Install the roll roofing on a warm, dry day. Wet or cold weather can impact adhesion and curing.
Ensure your business roof integrates attic access with Commercial Roofing solutions!
Step-by-Step Installation
1. Prepare the Roof Surface
- Cleanse the roof using the help of a Broom. Clean dirt, dust, and other debris.
- Examine for damages. Repair any holes or weak spots before installing the roof roll.
2. Measure and Cut the Roll Roofing
- Use a measuring tool to determine the height of the roof.
- The roofing material should be laid out on an even surface.
- Cut it down to the desired size using a knife.
3. Mark the Starting Line
- Make use of a chalk line to make a straight guide.
- Start at the lower side of your roof.
Considering a new attic design? Our Roofing Installation Services can help!
4. Apply Roofing Adhesive
- Apply roofing glue along the line.
- Allow it to sit for a couple of minutes before it begins before it turns sticky.
5. Lay the First Roll
- The roll roofing should be placed over the adhesive.
- Make sure to press it hard to ensure that it is in contact with the.
- Smooth wrinkles and smooth out wrinkles to eliminate weak spots.
6. Secure Your Nails
- Hammer roofing nails around the edges.
- They should be spaced approximately six inches from each other.
- Add additional nails to the corners and areas that overlap.
Address air leaks or damage near your attic with our Roof Repair Services!
7. Overlap the Next Row
- Overlap each row by at minimum 4 inches.
- Apply adhesive underneath the overlap to create a secure seal.
8. Seal the Edges
- Apply roofing cement for sealing seams and edges.
- This stops leaks and increases durability.
9. Cure Roll Roofing
- The roof should be left to dry for a minimum of 24 hours.
- Do not walk on it at this period.
For professional attic inspections, contact Only Roofing for expert services!
Final Checks and Maintenance
1. Inspect for Gaps or Loose Edges
Make sure the roof is checked after installation. Apply pressure to any spots that are not secure using adhesive.
2. Keep the Roof Clean
Take care to remove leaves and debris frequently to prolong its lifespan.
3. Check for Wear and Tear
Check your roof at least twice per year. Repair any minor damages before they get larger.
Protect attic edges with reliable Soffit and Fascia installations!
Final Thoughts
How to install roll roofing? – Roll roofing installation is easy provided you follow the correct steps. With the proper tools and cautious application, you will be able to make a strong weatherproof, waterproof roof.
