Barn roofs are a crucial component of any barn-style construction. It shields your structure from weather damage and improves its overall appearance. A sturdy and long-lasting barn roof is a meticulous process that requires planning the best materials and the right installation methods. But, How to build a barn roof? – This guide will take you through every step!
Step 1: Choose the Right Barn Roof Design
Before starting, you must choose the most suitable barn roof style. The most popular options are:
- Gambrel Roof: An iconic barn-style roofing solution featuring two slopes on either side for optimal water drainage.
- Gable Roof: An A-frame style featuring two equal slopes.
- Screen Roof: With an elevated central section for air circulation and light.
Each design comes with distinct advantages So, choose one that best suits your needs. For professional attic inspections, contact Only Roofing for expert services!
Step 2: Gather Your Materials and Tools
You’ll require the proper building materials to create a sturdy barn roof. The most important elements are:
- Lumber (for framing)
- Sheets for roofing (metal, shingles, or tiles)
- Screws and nails
- Drill, saw, and drill
- Level and measuring tape
Be sure to select sturdy materials that will extend the lifespan of your barn’s roof. Need a safer attic access solution? Check out our Roof Replacement options!
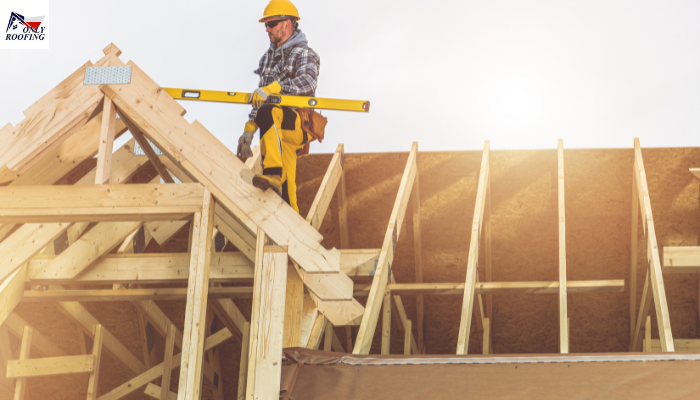
Step 3: Build the Roof Frame
The roof frame serves as the primary support.
- Measure and cut the Rafters: Ensure they meet its specifications in terms of length, width, and depth.
- Join the Rafters: Secure them to the wall at their upper points with screws or nails to complete assembly.
- Set up Roof Trusses: They provide extra strength, specifically for barns with gambrel roofs.
Make sure you double-check the measurements to ensure everything is in place and safe. Address air leaks or damage near your attic with our Roof Repair Services!
Step 4: Install the Roof Sheathing
Roof sheathing serves as a foundation for roofing material. Make use of OSB or plywood boards.
- The boards should be laid across the rafters.
- Attach them securely.
- Make small gaps for expansion when temperatures change.
This will help stabilize your barn-style roof home. Considering a new attic design? Our Roofing Installation Services can help!
Step 5: Add Roofing Material
The last step is to put in the roofing material. The most popular options are:
- Metal roofing – Long-lasting and weatherproof.
- Asphalt Shingles – Simple and inexpensive to install.
- Wooden Shingles – Perfect for a rustic barn-style look.
Be sure to secure the material correctly to stop wind and leaks from damage. Ensure your business roof integrates attic access with Commercial Roofing solutions!
Step 6: Inspect and Maintain Your Barn Roof
Once the roof is installed, look for loose nails or gaps. Regular maintenance will extend the lifespan of your barn’s roofing.
- Remove all debris from the roof.
- Make sure you check for leaks after heavy rain.
- Repair damaged shingles or metal panels quickly.
Protect attic edges with reliable Soffit and Fascia installations!
Final Thoughts
How to build a barn roof? – A barn roof takes a lot of time, but with the correct plan, you will make a durable and sturdy structure. Pick the most appropriate barn roof design, make use of high-quality materials, and be sure to follow all the instructions with care. A sturdy barn-style roof can safeguard your barn for many long time in the future!
