Extreme inclement weather may twist your arm to digest the science behind how to put a tarp on a roof whenever a storm or hurricane hits your town because everybody starts hiring roofers and such responsibilities might make them too busy to attend to you unless there’s an emergency. It is better to grasp the basics and start working in case the help you need is too late or unavailable due to any possible condition.
Appropriately securing a roof tarp is essential for the protection of your accommodation and properties from hailing winds and rainfall that are prone to cause endmost damage or leaks to the roofing system.
Tarpaulin, shortened as a tarp, is a sheet, typically made of durable plastic, that is especially used to protect exposed areas or objects to prevent further damage. For instance, a waterproof tarp for roof is the common choice of people to prevent water stains and leaky attics.
Prerequisites of Roof Tarping
Before starting how to put a tarp on a roof, it is mandatory to assess the damaged sections and gather the supplies beforehand.
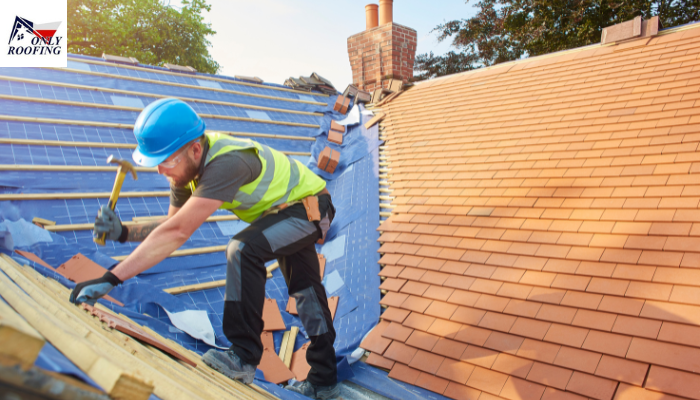
- Ensure Personal Protection
If you’re certain about repairing or replacing the damaged roof yourself instead of hiring expert roofers, equip yourself with all the equipment necessary to ensure personal protection; these are called personal protective equipment (PPE) – named so because they tend to minimize the exposure to hazards that may cause the occurrence of injuries or illnesses at the workplace.
A few examples of PPE are a sturdy pair of boots, thick gloves, a firm ladder, protective goggles, a helmet, and a high-visibility vest.
- Call Your Friends
An extra pair of hands is helpful because tarping a roof isn’t as easy as a pie. It is highly recommended to ask for someone’s assistance throughout the task rather than doing the job all alone; it would be better to call a neighbor, friend, or acquaintance who’s experienced in repairing and replacing the distorted sections of the roof.
- Observe the Damaged Roof Section
Wait for the time till the weather stabilizes and clear daylight is out. If you’re susceptible to roof damage, and shaky about how to put a tarp on a roof, take a ladder outside your property and climb it up to observe damaged roof sections if any. Remember to ask your friend to firmly hold the ladder while you’re mounting and dismounting it.
Look out for distorted shingles or debris; you need to examine the entire roof as well as the attic because there might be dampness or water stains on the walls that are obvious signs of the occurrence of detriment.
- Estimate the Extent of Impairment
Be careful because, at this step, you need to climb over the roof and kneel close to the disfigured roof areas to estimate the extent of impairment with the help of a measuring tape.
It is crucial to pen down the measurements either in a pocket diary or on your phone notes. If you don’t know the dimensions of your roof, now is a better opportunity to note them down to be used afterwards, if need be.
- Use Your Photography Skills
It is essential to use your photography skills and click visible pictures, with the help of a mobile phone or a camera, of the damaged roof sections so it can prove to be beneficial, along with precise measurements done in the previous step to purchase the best suitable tarp from the hardware store. These pictures serve as evidence if you’re planning to get the repairs done via home insurance, in case you have already signed for it.
- Invest in a Suitable Tarp
A wide variety of tarps are available at the hardware stores. As a general rule of thumb, it is better to invest in a suitable tarp that is a bit larger in size than the calculated measurements so it can entirely cover the damaged roof sections. If you’re still skeptical about the size of the tarps, seek professional guidance from the employee of the hardware store.
- Debris Removal
It is better to climb up a roof with a mopping brush on a clear dry day so you can wipe and dust away all the collected leaves, branches, and debris to clear the roof before starting to tarp it.
Make sure to clean it completely so the insects don’t get trapped under the tarp later. If some components of the debris such as long branches are heavier than others, you may need to collect them separately for their disposal.
How to Put a Tarp on a Roof?
This step-by-step guide is a gateway to master roof tarping. Make sure to follow all the prerequisites first that are indispensable to tarping the roofs of your residential and commercial buildings.
- Straighten the Tarp Sheet
Brand new and intact tarp sheets are packed as either folded or rolled to ensure their safety. Find a corner of the sheet and ask your helper to let it unfold or unroll properly. Once you both have a firm grasp on the sheet, the tarp will straighten out. Do the task on the day when the winds seem to be in control.
- Lay the Tarp on the Roof
The tarp should be laid across the roof so that at least 4 feet lie on the sloped part of the roof on each side, which is also known as the peak. Let the rest of the tarp hang off the lower border of the roof that overhangs the wall, known as the eave. It is highly recommended to avoid walking on the tarp at all costs.
- Secure the Tarp
You ought to secure the four corners or ends of the tarp firmly using cap nails of appropriate size. Wooden boards of measurement 2 x 4 or thinner must be placed at an equal distance so you can hammer the screws into them as this step prevents the damage to the other walls of your home.
While your priority should be to seek professional help because extremely damaged roofs may even collapse under your weight, learning everything you need to know about roofing and how to put a tarp on a roof is essential to temporarily repair the roof of your homes and buildings to prevent further vandalism caused by natural disasters or storms.
