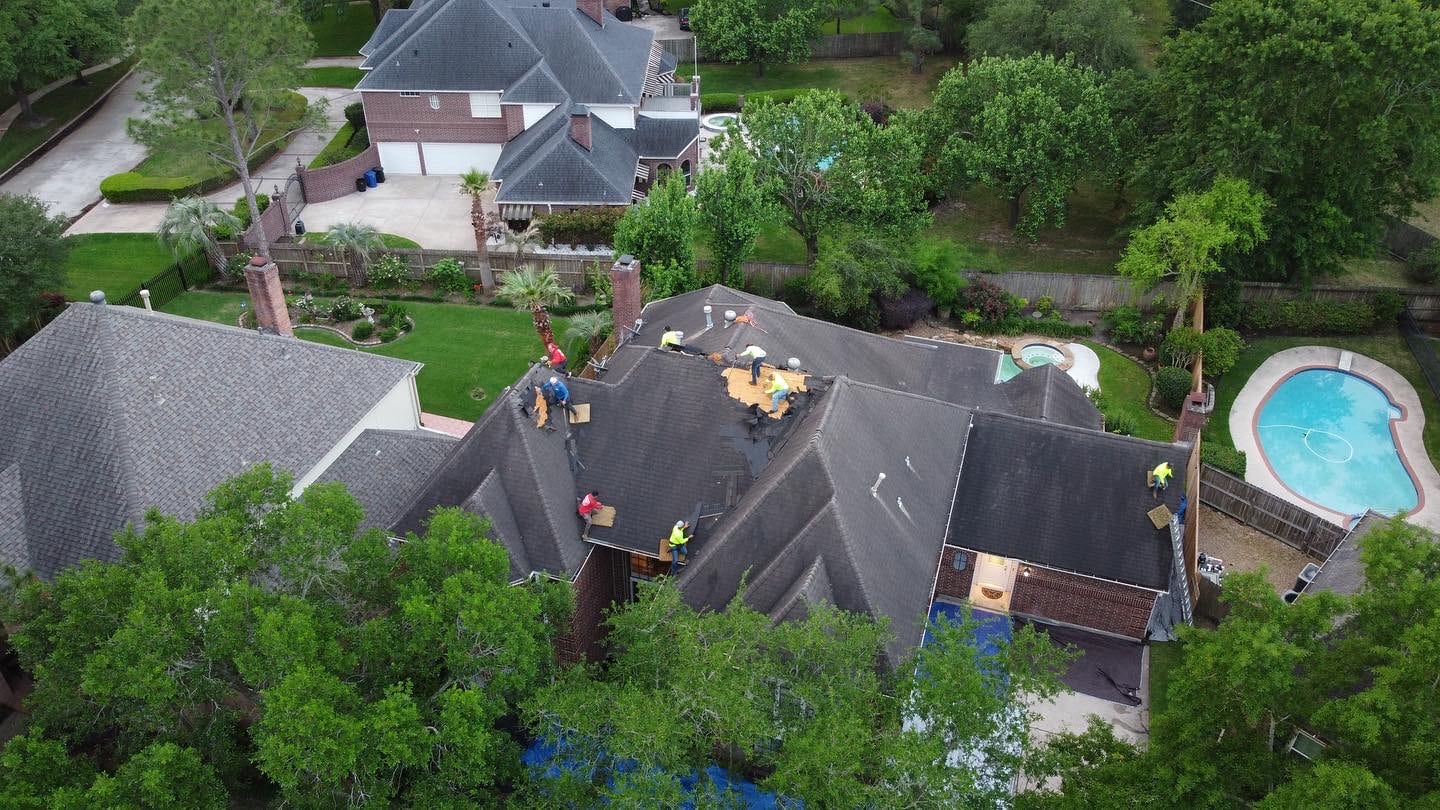
If you’re inclined towards being a savvy rather than a spendthrift, acquiring skills to be proficient in how to do roofing step by step must be your goal whenever it comes to house maintenance because the whole operation can turn out to be pretty expensive than your estimates. Not being judgmental but it’s totally up to you whether you wish to be a Diyer or hire a roofing contractor.
Also Check: How to Become a Roofing Contractor?
Successfully Install a Roof: How to do Roofing Step by Step?
The sequential series to repair, restore or replace the roof of your commercial and residential buildings is described below:
Obtain a Permit
Obtaining a work permit is a prerequisite to ‘How to do Roofing Step by Step?’. This document guides you about the appropriate implementation of regulations to ensure the job is in compliance with the codes of conduct and will save you from heavy fines or penalties.
Isolate the Old Roof
New roofs can’t be installed before the segregation of distorted ones. To isolate the old roof, a pry bar or roof shovel proves to be a handy tool through which the job can easily be done. This process is known as tearing off as it clears the path to welcome the updated versions of the roofs. Make sure to collect and discard the tossed-off debris to certify a friendly environment for the community you’re living in.
First Repair, Then Replace!
Observe if there’s any need to repair as the roof deck is now exposed. Look for any water stains, cracks, or other damages. The integrity of roof sheathing or decks is the foundation to ensure the appropriate and long-lasting installation of new roofs.
Also check Efficient Roof Process.
Time to Underlay
Underlayment is the cushioning that lies between the roof sheathing and shingles. It serves as a protective barrier between your home and the unwanted invasion of foreign elements. The most commonly used underlayment is made of felt paper that is fixed from all sides using roofing nails and hammered with an interval or gap of twelve inches.
Roof Flashings
The next step in ‘How to do Roofing Step by Step?’ is to put the roof flashings in place, which are also referred to as dip edges. These are commonly constructed of metal or plastic that facilitates the water or other foreign materials to slip off the roofs and away from the house near the disposal system. To prevent the protrusion of flashings through the shingles, it is essential to install the dip edges at an angle of 45 degrees with all the nails tapped appropriately.
Valley Flashing
Valley flashing serves as a separator between the two connected sections of a roof to prevent the accumulation of water and to promote the rainwater from runoff away from the roofs. Before installing brand-new shingles, the insertion of valley flashings is extremely important because these are the sites that become most susceptible to roof leaks.
Starter Shingles
Starter shingles are installed to maintain the appearance of eaves. The edges that overhang the external front of your house walls are called house eaves.
The pre-shingles consist of a layer of asphalt that runs along the eaves and seals off the remaining gaps, if any, between the roof shingles and roof edges. This step is useful to help you calculate the number of shingles required to install and the expected number of rows.
Shingle Rows
In this step, you need to start installing the shingles in a uniform pattern. Starting from left to right and bottom to top, make sure to overlap the first layering with pre-shingles and continue doing so in an unwrinkled manner. Proper nailing in the zones ensures that they go all the way through which, ultimately, prevents the protrusion under the next layer on top, giving an evenly homogenized roof to your shelters.
Dormer and Step Flashings
Both of them are different from the roof flashings in a way that dormer flashings are inserted under the siding and on the top of the roof steel at the bottom of a dormer or end wall. This flashing prevents your walls from water damage. Whereas step flashings deviate the water flow to the gutters. Install these additional flashings if necessary and don’t forget to overlap them with the shingles.
You can get services from Top Roofers in Texas.
Vents Installation
Cutting or replacing the vents in your roof is required at this step. If an existing roof is torn-off, replace the same vents or boots before or simply replace them. To maximize the durability of your new roofs, sealants and flashings are required to prevent the risk of water leakage.
Ridge Caps
As the name indicates, a ridge cap is a type of shingle that is placed along the ridges of a roof. Ridge caps are installed on all roofs except for flat versions. After the completion of roof shingles, ridge caps are placed on the top of the roofs to prevent the accumulation of water, ice, or debris, providing them a path to slide off from both sides of the roofs. These caps serve as an additional protection that provides tight sealing to the interlinking top roof shingles.
Culverts Replacement
Clean and discard all the nails or debris and re-attach the old culverts if you disassembled them before roof installation or install new ones to keep the hazards of leaky roofs away from your home.
Now that you’ve learned and worked on how to do roofing step by step, it is time to finally observe again and verify if there are any crooked roof shingles or spaces that still need the application of sealants on flashings. Moreover, certify the seamless installation of ridge caps. Clean up the surrounding area and make sure there are no nails, debris, or discarded material left in the yard.
Also Read Now: How to Seal a Leaking Roof?