Starlink provides high-speed internet access in rural and underserved areas such as Woodlands, TX. If you have purchased one of Starlink’s kits and wish to install it yourself on the roof, ONLY ROOFING, your trusted partner for Residential and Commercial roofing in Woodlands prioritizes safety and efficiency when setting it up for you. Here is our guide on “How to install Starlink on roof?”
Why Select Roof Installation Services?
Placement of a Starlink dish on the ground might seem convenient, but roof installations offer better connectivity by providing unobstructed views of the sky – without trees, fences and roofs to interfere with its signal. A ground installation could compromise internet speed while offering no better connectivity overall.
Safety Precautions
Roof-related tasks involve inherent risks. If you feel uncertain or anxious about working on the roof yourself at height or require professional guidance when working from above ground levels, it would be prudent to contact an established roofing contractor in Woodlands, TX who has access to expertise and safety gear that ensures installation safely while prioritizing your wellbeing.
Considering DIY Installations?
Here Are Some Essential Tips For Installing Starlink on a Roof:
1. Select an Ideal Site
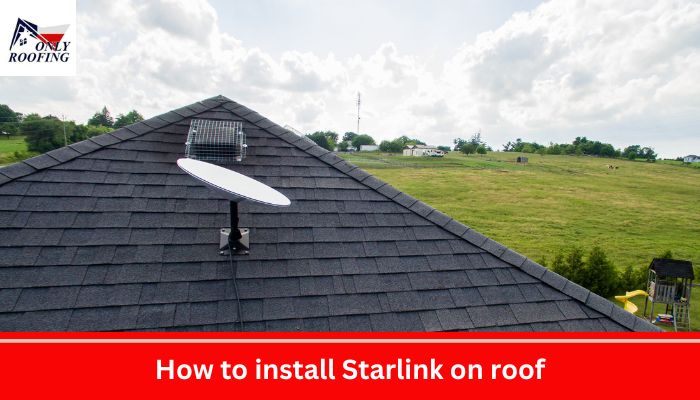
When choosing the proper spot on your roof for installing your dish antenna, aim for one with clear south-facing views with few obstructions nearby; make sure the dish doesn’t end up near any vents, chimneys or structures that could hinder signal transmission.
2. Select an Appropriate Mount
Starlink offers various mounting solutions tailored specifically for various roof types, such as volcano mounts for pitched roofs or flashing mounts on flat ones – ensure you select one appropriate to your Woodlands residence!
3. Arrange Your Cable Rout
Before drilling any holes for the Starlink cable to enter your house from its dish location to a point like an attic vent or similar location, carefully plan its path. It must reach from the dish location to its destination point in your attic vent system for optimal operation.
4. Adhere to Installation Instructions
Starlink provides comprehensive installation instructions for each mount type, so please read and comply with any safety precautions included within them.
5. Seal Accurately
Any holes drilled in your roof must be securely sealed using waterproof sealant to avoid potential leakage issues.
Additional Considerations
- Roof Material: Your mounting process may depend on whether or not your roof material – asphalt shingles or metal – needs special fasteners or techniques to avoid damaging it.
- Mounting Procedure: Each method varies based on what material it’s made out of; be it asphalt shingles, metal, or something else entirely. Be sure to utilize appropriate fasteners and techniques to avoid damaging or ruining it altogether.
- Local Regulations: Different municipalities may impose specific roof installation regulations; before proceeding with your installation project, be sure to consult the building department of your town/city to make sure everything complies.
We Are Here To Help!
At ONLY ROOFING in Woodlands TX, our professional Starlink installation services and roof suitability inquiries services can assist with this. Get in touch today to set up your consultation session!
Read More:
