Rotted wood siding is a homeowner’s nightmare. It looks bad, invites pests, and can lead to costly damage. But don’t panic; you can fix it! This guide shows you how to repair rotted wood siding step-by-step. Restore your home’s beauty and strength with these easy tips. Let’s get started with help from Onlyroofing!
Why Repair Rotted Wood Siding?
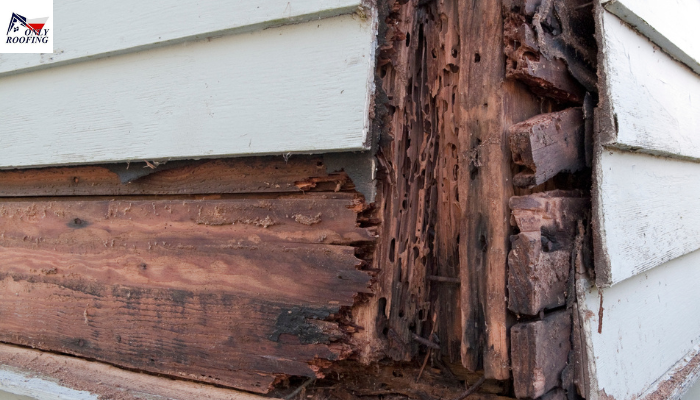
Rotting wood weakens your home’s defense against the weather. It lets water seep in, causing mold and rot. Plus, it drags down your curb appeal. Fixing it now saves you from bigger headaches later. A quick repair keeps your home safe and looking sharp. For expert assistance, check out Wood Siding Repair.
Tools and Supplies You’ll Need
Gather these essentials:
- Replacement wood siding
- Wood filler or epoxy
- Putty knife
- Sandpaper (medium and fine)
- Exterior paint or stain
- Primer
- Caulk and caulk gun
- Saw and hammer
- Gloves and goggles
Having everything ready makes the job smoother. Need roof fixes too? Check out Commercial Roofing for business properties.
Step-by-Step Repair Guide
Follow these steps to banish rot and revive your siding.
1. Spot the Rot
Look for soft, crumbly wood. Check for discoloration or mold. Tap the siding; hollow sounds mean trouble. Mark the damaged areas. Catching rot early prevents spread.
2. Remove the Rotted Wood
Use a saw to cut out the bad sections. Pry them loose with a hammer. Be gentle to save the nearby boards. Clear all rot, leaving any invites it back. Got aluminum siding issues? See Aluminum Siding Repair.
3. Prep the Area
Clean the spot with soap and water. Scrub away dirt and debris. Let it dry completely. Sand the edges for a smooth fit. A clean, dry surface ensures a strong repair.
4. Fill or Replace
For small holes, use wood filler. Scoop it with a putty knife. Press it in and smooth the top. For bigger gaps, cut replacement wood to size. Nail it in place. Let filler dry as directed.
5. Sand and Smooth
Sand the patched area. Start with medium sandpaper. Finish with a fine for a sleek look. Wipe away dust. A smooth surface blends seamlessly.
6. Prime and Paint
Apply exterior primer to the repair. Let it dry. Then, paint or stain to match your siding. Use two thin coats for durability. This protects and beautifies the fix.
7. Seal the Deal
Add caulk around the edges. Smooth it with your finger. This blocks water and pests. Check your work. No gaps? You’re golden!
Pro Tips for Success
- Work on a dry day; moisture messes with filler.
- Use wood that matches your siding type.
- Test paint colors on a small spot first.
- Inspect your siding yearly to catch rot early.
Final Thoughts
How to repair rotted wood siding? Repairing rotted wood siding is simpler than it looks. Spot, remove, prep, fill, and paint – done! You’ll save money and keep your home safe. For tough jobs, trust Onlyroofing for expert Wood Siding Repair. Grab your tools and tackle that rot today. Your home will thank you!
