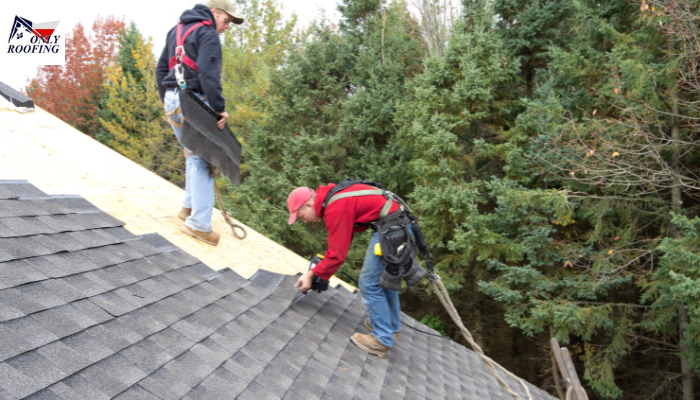
At Only Roofing, we know the importance of roofing that is durable and also is visually pleasing. GAF shingles have been regarded for a long time as among the best in terms of quality, durability, and fashionable designs – they are most of the time preferred by residents of Spring TX, and others. But How to install GAF roof shingles correctly?
Before Starting Roof Work: Ethical Preps
- Safety First: Roof work is dangerous, and scaffolding is necessary. Have fall protection harnesses, gloves, and sturdy footwear ready. If you need safe installation services then consider roofing contractors in Spring TX.
- Gather Your Tools: Gather necessary tools like roofing hammers, utility knives, shingle gauges, chalk lines, tape measures, safety glasses, and specific GAF shingle tools for the installation.
- Permits and Inspections: Check local building requirements before starting your project. Schedule a pre-installation inspection to ensure code compliance for your new shingles.
- Prepare the Roof Surface: Remove existing roof coverings and debris, inspect for damage on the deck, and address any ventilation concerns identified during inspection.
Steps to Install GAF Roof Shingles
Follow the manufacturer’s instructions when installing high-quality underlayment. Underlayment acts as a secondary barrier against moisture infiltration, helping extend roof lifespan while keeping costs at a minimum.
1. Starting Shingles
Start by installing starter shingles along the eaves and rake edges according to GAF manufacturer specifications for your chosen GAF shingle type; this provides an even surface on which future layers of shingle courses can rest securely and smoothly.
2. Starting Your First Course
Begin laying the initial course along the eaves by making sure the shingles hang over by 1/4 to 3/4 of an inch from their edges. Align these with your starter course and secure them with appropriate nails (usually 6 per shingle according to manufacturer recommendations).
3. Install Subsequent Courses
GAF shingles use staggered installation patterns for an attractive and weather-resistant roof, so adhere to GAF’s “nailing area” guidelines when nailing down subsequent courses of GAF shingles to avoid nail placement issues and prevent potential roof damage.
Tip: Use a shingle gauge to ensure consistent exposure of shingles throughout installation for optimal performance and aesthetics. Doing this ensures optimal performance as well.
4. Valleys and Hips
Installation of shingles in valleys and hips requires extra consideration when flashing techniques are involved, so for an expert installation contact Only Roofing for assistance in Woodlands TX.
5. Ridge Cap and Ventilation
Install the ridge cap shingles according to the manufacturer’s instructions, ensuring adequate ventilation at the ridge for optimal roof performance.
6. Finish Ups
Once all shingles have been installed, carefully examine them for any damaged or missing ones and replace them as necessary.
Consider These Additional Considerations
- Weather Conditions: Take special precautions to install your shingles during ideal weather conditions such as rain, high winds, or extreme heat.
- Local Building Codes: Be certain your installation adheres to all local building codes as well as the manufacturer’s installation guidelines for optimal installation results.
- Professional Assistance: Although this guide offers a general overview, installing GAF shingles can be a complex endeavor. If any aspect of the process seems unfamiliar to you, experienced roofing contractors such as Only Roofing for Roof Replacement in Woodlands Texas are highly advised for guidance during installation.
Final Thoughts
How to install GAF roof shingles? – Installing a GAF roof properly will improve the curb appeal, protection, and value of your home significantly. By following these steps mentioned above and seeking professional guidance from Only Roofing when necessary, you can embark on an enjoyable GAF shingle installation journey with success!

