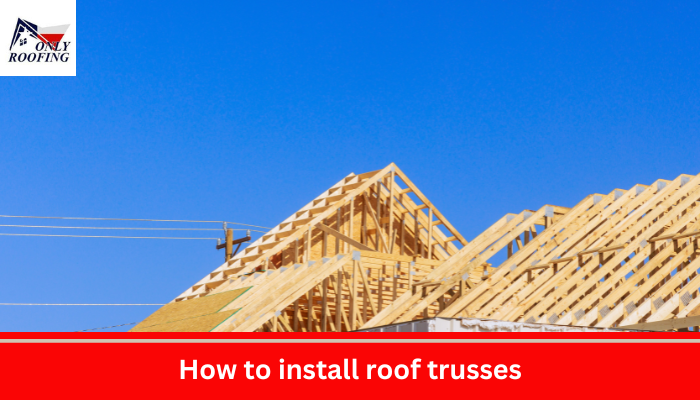
Only ROOFING in Woodlands, TX provides comprehensive roofing solutions to satisfy all residential and commercial roofing requirements. From repairs and replacements to installations of brand-new roofs, our highly experienced team delivers excellent craftsmanship at exceptional service levels. But the question is: How to install roof trusses?
Roof truss installation is an integral step in roof installation, serving as the framework of your roof’s structure and providing support to its materials above. Proper placement ensures a dependable roof that stands the test of time.
Planning and Preparation
Careful preparation before initiating installation is vitally important. Here are the main points of consideration:
- Truss Design: Acquaint yourself with the types of trusses (king post, attic truss etc) you will be working with as well as their load capacities before beginning design work on them.
- Truss Delivery and Storage: To get the best results and prevent warping or damage to trusses during storing and delivering.
- Safety Equipment: Have all your safety gear: gloves, hard hats, safety glasses and sturdy boots, ready to avoid disruptions in your work.
- Teamwork: Installing roof trusses requires working as part of a collective. For optimal lifting and positioning results, be sure to recruit enough helpers for this undertaking.
At ONLY ROOFING, our focus on careful planning and precise execution ensures a successful installation of roof trusses for an enduring roof structure.
Installing The Trusses
1. Setting Up The Initial Truss
Begin by positioning your initial truss carefully onto wall plates using temporary braces to hold it plumb ensuring it remains vertical.
2. Align and Leveling
Before installing, double-check that your truss is levelled and in line with pre-marked locations on wall plates. String lines can help ensure even spacing throughout the installation process.
3. Securing the Trusses
Once properly aligned, utilize hurricane clips or metal connector plates provided by your truss manufacturer to securely fasten trusses to wall plates.
4. Installation Sequencing
Continue installing individual trusses one after the next by adhering to the same procedures for alignment, levelling and securing them – keeping 16-24 inch spacing depending upon truss design and roof span.
5. Bracing and Support
As you progress with construction, provide temporary diagonal bracing between trusses to add stability until roof sheathing can be added.
Roof Truss Installation Recommendation
Installing roof trusses may present risks; therefore roofing contractors like those at ONLY ROOFING with experience should be hired for this task to guarantee safe, accurate installation compliant with building codes.
ONLY ROOFING is your Reliable Roof Partner
At ONLY ROOFING, our certified roofing professionals are on hand to guide you through every stage of roof installation – including truss installation – using only high-grade materials while adhering to stringent safety protocols. Connect with us now for a complimentary consultation and estimate for your roofing in Woodlands, TX!;
FAQs:
- What are roof cap shingles, and why are they important?
Roof cap shingles, also known as ridge cap shingles, are installed along a roof’s peak (ridge). They provide the finishing touch to a roofing system and protect the roof’s ridge from water penetration, wind damage, and leaks.
- Can I use regular shingles as cap shingles?
Some roofers cut 3-tab asphalt shingles into thirds to create ridge cap shingles. However, pre-manufactured cap shingles are more durable and provide a cleaner, more uniform look.
- How do I install roof cap shingles correctly?
Start from the end opposite the prevailing wind and overlap each shingle, nailing them securely into place. Use roofing nails long enough to penetrate the ridge and underlying decking, and apply roofing cement to enhance adhesion and waterproofing.
- Do I need special tools or materials to install cap shingles?
Basic tools include a utility knife, roofing nails, a hammer or nail gun, and roofing cement. Pre-cut cap shingles can simplify the process, but regular 3-tab shingles can be trimmed and used.
Read More:
How to install heat cable on metal roof
How to install epdm rubber roofing
