Get Best Roofing Solutions in All Over Texas
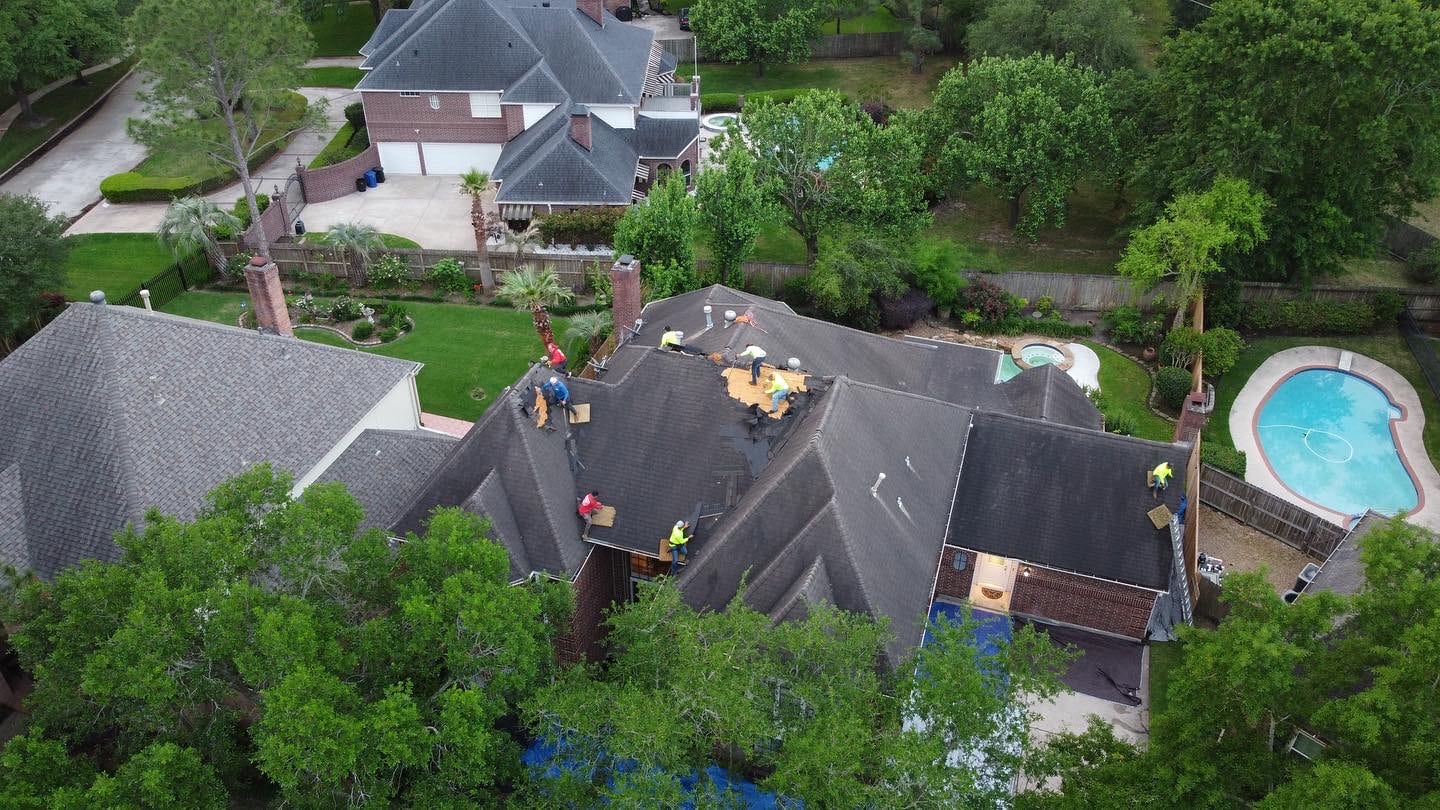
We are providing best Texas roofing solutions with reliability and quality in order to satisfy both its residents and businesses alike. From bustling cities such as Houston and Dallas to more tranquil rural regions, Texas residents and businesses value roofs which can withstand Texas' diverse weather challenges, from scorching summer temperatures to hailstorms and heavy rainfall.
Top roofing contractors in Texas provide an array of services, from installation, repairs, and maintenance, customized to each individual's specific needs and preferences. From replacing an aging roof or responding to emergency repairs - these professionals prioritize customer satisfaction and long-term reliability for long-term reliability.
Finding the ideal roofing solutions in Texas requires working with experts who possess in-depth knowledge of local climate nuances and building codes, so each project meets or surpasses your expectations in terms of safety, efficiency and aesthetic harmony with its environment.